
Access Point Placement Best Practices for Reliable Commercial Wi-Fi
Designing reliable Wi-Fi networks starts with one critical factor: access point placement.
Even the best wireless hardware cannot deliver consistent performance if access points are installed in the wrong locations. Poor placement leads to dead zones, weak roaming performance, and ongoing troubleshooting for integrators and IT teams.
Many clients also want network infrastructure hidden for aesthetic reasons. Unfortunately, hiding access points in closets, soffits, or behind furniture often blocks radio signals and compromises coverage.
The goal is not simply to install access points. It is to place them where they deliver predictable wireless performance while maintaining a clean installation.
This guide outlines access point placement best practices used in commercial deployments so integrators can design networks that perform reliably from day one.
Why Access Point Placement Matters
Wireless networks rely on radio signals that interact with the physical environment. Walls, ceilings, and furniture all influence signal propagation.
Poor access point placement typically results in:
- inconsistent coverage
- dropped connections
- slow roaming between APs
- unnecessary support calls
Strategic placement ensures wireless coverage is evenly distributed across the space while minimizing interference between neighboring access points.
When placement is planned correctly during the design phase, integrators can deliver more predictable results and reduce troubleshooting after deployment.
Wi-Fi Coverage Fundamentals Integrators Should Know
Wireless signals weaken as they travel through physical materials. Understanding how building materials affect signal strength is essential for proper AP placement.
Below is a general guide to how common materials impact wireless signals.
| Material | Signal Impact |
| Drywall | Low attenuation |
| Glass | Moderate attenuation |
| Concrete | High attenuation |
| Brick | High attenuation |
| Metal | Very high attenuation |
Metal structures and reinforced concrete can significantly weaken wireless signals, while drywall and wood generally allow signals to pass with minimal loss.
A common design target for business environments is RSSI of -65 dBm or better in active work areas, which supports voice, video, and collaboration tools.
How to Plan Access Point Placement Before Installation
Effective access point placement begins during the site survey and design phase.
Predictive design tools such as Ekahau or AirMagnet allow integrators to model coverage before installation begins.
A proper site survey should document:
- building layout and floor plans
- wall and ceiling materials
- areas with high device density
- interference sources
- potential mounting locations
- ceiling height
These inputs allow integrators to produce heatmaps that visualize signal coverage and identify the best locations for access points.
Planning also ensures that cable routes, switch locations, and power requirements are accounted for before installation.
Best Mounting Height and Positioning for Access Points
Mounting height and orientation have a major impact on wireless coverage.
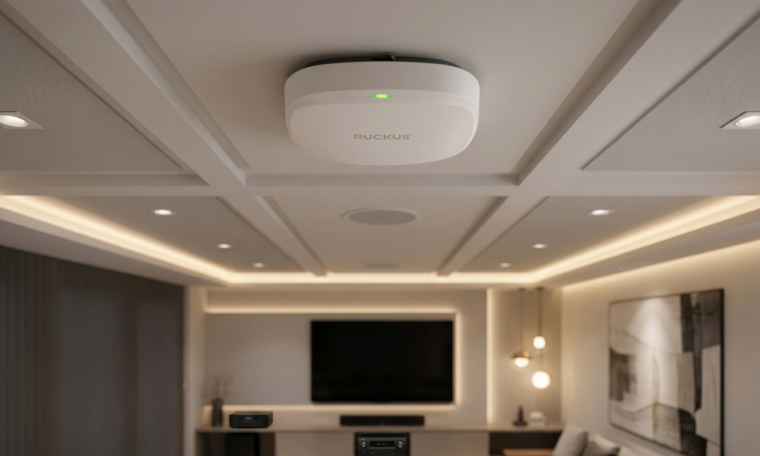
Ceiling-mounted access points
For most commercial environments, ceiling mounting provides the most consistent coverage. Ceiling placement allows access points to distribute signal evenly across open spaces and reduces interference from furniture or equipment.
Typical mounting heights:
- 8–12 feet for standard office environments
- higher ceilings may require directional antennas or suspended mounts
Wall-mounted access points
Wall-mounted deployments may be used in situations such as:
- long corridors
- narrow spaces
- environments without ceiling access
However, ceiling mounting typically provides more balanced signal distribution.
How Aesthetics and Mounting Choices Affect Performance
Many commercial clients want network hardware to remain visually unobtrusive. While appearance matters, hiding access points improperly can degrade network performance.
Installing access points in closets, soffits, or behind decorative structures can block wireless signals and create coverage gaps.
Instead, integrators often use mounting solutions designed specifically for concealed installations.
Paramount in-ceiling mounts, for example, allow access points to be installed above the ceiling tile while maintaining the intended antenna pattern. This approach keeps the hardware visually hidden while preserving the wireless coverage predicted during design.
By planning mounting solutions during the design phase, integrators can meet both performance and aesthetic requirements.
Common Access Point Placement Mistakes to Avoid
Several placement mistakes frequently lead to Wi-Fi performance issues.
Installing access points in closets
Closets often contain shelving, equipment, and walls that block wireless signals. Devices placed inside closets may struggle to provide coverage to surrounding rooms.
Mounting APs inside soffits or cavities
Soffits and recessed cavities can obstruct signal propagation and prevent coverage from reaching the intended areas.
Placing APs near large metal objects
Metal objects such as appliances, racks, and machinery can reflect or absorb wireless signals.
When clients request hidden hardware, integrators should recommend engineered solutions that preserve RF performance rather than placing access points in compromised locations.
Access Point Placement Tips for Different Environments
Different environments require different deployment strategies.
Residential environments (luxury homes)
In luxury residential projects, Wi-Fi access point placement must balance performance with aesthetics. Large homes often include multiple floors, dense materials, and a high number of connected devices, making smart home network design more complex than standard deployments.
Best practices include placing access points centrally on each floor, avoiding closets or AV racks that block signal, and using in-ceiling access point mounts to maintain clean installs without compromising coverage. Solutions like Paramount in-ceiling mounts allow integrators to keep hardware visually hidden while preserving proper RF performance.
Office environments
Office networks prioritize consistent coverage and seamless roaming.
Typical starting point:
- 1 access point per 1350 square feet minimum for general office use
Higher-density areas such as conference rooms may require additional access points.
Hospitality and retail
Guest-facing environments often require reliable coverage with minimal visible hardware. Ceiling-mounted or concealed installations are commonly used to maintain aesthetics.
Education
Schools and campuses require high device capacity. Lecture halls, libraries, and common areas often require additional access points to support large numbers of users.
Healthcare
Healthcare environments require careful coordination with facility teams to ensure reliable connectivity without interfering with medical equipment.
How to Validate Access Point Placement After Installation
After installation, the network should be validated to confirm real-world performance.
While predictive modeling provides a strong foundation, validation at this stage focuses on user experience rather than just signal strength. For projects that require a higher level of assurance, advanced validation can be included as an additional step.
This may involve Quality of Experience (QoE) testing using platforms like the RUCKUS Cloud, where technicians walk the site while measuring latency, jitter, roaming, and overall connection stability in real time.
This approach provides a clearer view of how the network performs for end users and is especially valuable in more complex or performance-critical deployments.
How to Future-Proof Commercial Wi-Fi Design
Wireless standards continue to evolve, so network designs should account for future upgrades.
Modern installations should consider:
- Wi-Fi 6 and Wi-Fi 6E/7 compatibility
- cabling capable of supporting higher bandwidth
- sufficient PoE capacity for next-generation access points
Many integrators now standardize on Cat6A cabling to support future wireless standards and higher data rates.
Planning infrastructure correctly helps organizations avoid costly retrofits when upgrading wireless equipment.
Final Thoughts
Access point placement is one of the most important factors in delivering reliable commercial Wi-Fi.
When integrators combine proper site surveys, thoughtful RF planning, and professional installation practices, they can deploy networks that perform consistently and require fewer support interventions.
Clean installations, well-documented layouts, and appropriate mounting solutions all contribute to long-term network reliability.
For integrators planning new deployments, WhyReboot can assist with design validation, product recommendations, and procurement support to help turn wireless surveys into repeatable, high-quality installations.
News